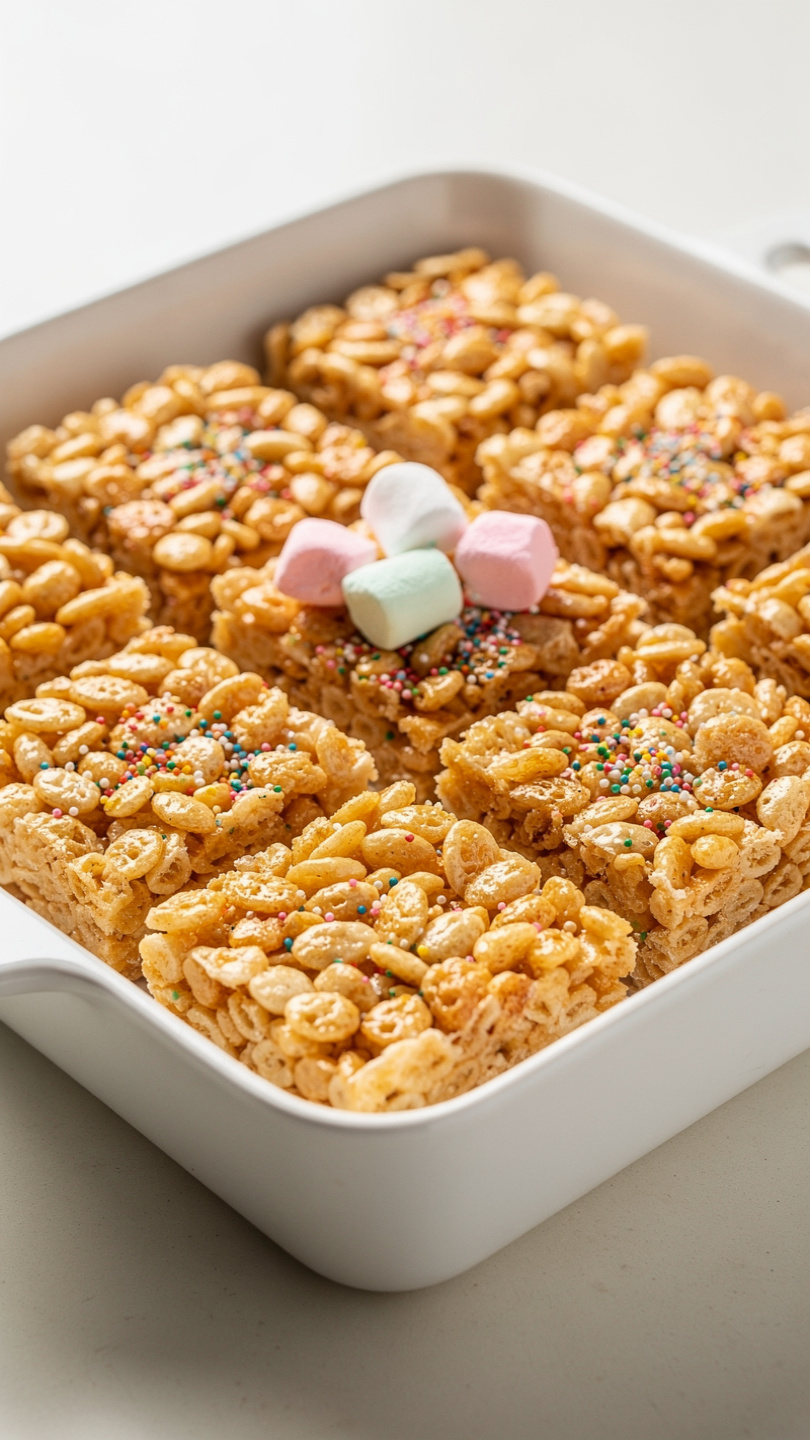
The Best Homemade Rice Krispie Treats (Gooey, Buttery, and Perfect Every Time)
These homemade Rice Krispie Treats are impossibly gooey, golden-buttery, and come together in just 15 minutes with only 4 ingredients. The ultimate marshmallow krispie treats your whole family will love.

The Only Rice Krispie Treat Recipe You Will Ever Need
If you grew up sneaking squares of Rice Krispie treats straight from the pan before they had even cooled, you already know the magic. These marshmallow krispie treats are the kind of nostalgic, no-fuss dessert that somehow tastes even better than you remember. And with just a few simple upgrades, this homemade rice crispy treats recipe goes from childhood classic to genuinely extraordinary.
The secret? Brown butter. One extra step that takes about three minutes and completely transforms the flavor from sweet and one-dimensional to rich, nutty, and deeply caramelized. Once you try it this way, you will never go back.
Why Homemade Beats the Box Every Single Time
Store-bought Rice Krispie treats are fine in a pinch. But homemade rice krispy treats are in a completely different league. Here is why:
- You control the butter ratio. More butter means more flavor and a softer chew.
- Fresh marshmallows melt better. Bagged marshmallows that have been sitting in your pantry for months get grainy and stiff.
- You can add that pinch of sea salt. It sounds small but it makes every bite taste more complex and intentional.
- Gooey pockets. By folding in a handful of whole marshmallows at the very end, you create those melty, stretchy pockets that make each square feel like a little gift.
These are the best Rice Crispies you will ever make at home, and they come together in under 15 minutes.
Using the right pot matters more than you might think for this recipe. A heavy-bottomed saucepan or Dutch oven distributes heat evenly so your butter browns without burning and your marshmallows melt smoothly without scorching.
How to Make Them Extra Gooey (The Real Tips)
Good rice krispie treats homemade come down to a few non-negotiable techniques:
1. Brown the butter. Melt it over medium-low heat and keep stirring until it smells nutty and turns golden amber. Watch it closely because it goes from golden to burnt quickly.
2. Use fresh, soft marshmallows. Stale marshmallows are the number one reason treats turn out hard and chewy in the wrong way.
3. Do not overcook the marshmallows. Once they are fully melted and smooth, pull the pot off the heat immediately.
4. Fold, do not stir aggressively. Use a buttered spatula and gently fold the cereal in. Overmixing compresses the cereal and makes the final texture dense.
5. Press lightly. Use buttered fingertips and a gentle touch. The mixture should sit loosely in the pan, not be packed down like a brick.
Chef's Tip: For cream cheese Rice Krispie treats, beat 4 oz of softened cream cheese directly into the melted marshmallow mixture before adding the cereal. It adds a subtle tang and makes the texture incredibly rich and velvety.
Variations Worth Trying
Once you have the base rice krispy recipe down, the variations are endless:
- Chocolate Drizzle: Melt dark chocolate and drizzle over cooled treats before slicing.
- Birthday Cake: Fold rainbow sprinkles into the mixture and use fruity pebbles for half the cereal.
- Peanut Butter: Stir 3 tablespoons of creamy peanut butter into the marshmallow mixture before adding the cereal.
- S'mores: Add mini chocolate chips and crushed graham crackers into the mix.
These edible rice krispie treats are also endlessly giftable. Wrap individual squares in cellophane with a ribbon and you have an instant homemade gift that everyone genuinely loves.
Ready to make the best batch of your life? Here is the full recipe:
The Best Homemade Rice Krispie Treats (Gooey, Buttery, and Perfect Every Time)
These homemade Rice Krispie Treats are impossibly gooey, golden-buttery, and come together in just 15 minutes with only 4 ingredients. The ultimate marshmallow krispie treats your whole family will love.
Ingredients
- 6 tbsp unsalted butter, plus extra for greasing the pan
- 10 cups mini marshmallows, divided, reserve 1 cup for folding in at the end
- 6 cups Rice Krispies cereal, measured loosely, not packed
- 1 tsp pure vanilla extract, optional but highly recommended
- 1/4 tsp fine sea salt, plus a pinch for topping if desired
Instruction
Generously butter a 9x13-inch baking pan and set aside. You can also line it with parchment paper for easier removal.
In a large, heavy-bottomed pot or Dutch oven, melt the butter over medium-low heat. Let it cook for 2 to 3 minutes, stirring occasionally, until it turns golden and smells nutty. This is brown butter and it makes all the difference.
Add 9 cups of the mini marshmallows (reserving 1 cup for later) to the browned butter. Stir constantly over medium-low heat until the marshmallows are completely melted and smooth, about 3 to 4 minutes. Remove from heat immediately.
Stir in the vanilla extract and sea salt.
Working quickly, fold in the Rice Krispies cereal using a buttered spatula or wooden spoon. Stir until every piece of cereal is evenly coated.
Fold in the reserved 1 cup of whole mini marshmallows. These create those irresistible gooey pockets throughout the finished treats.
Transfer the mixture into the prepared pan. Using buttered fingertips or a buttered piece of parchment, press the mixture gently and evenly into the pan. Do not press too hard or the treats will turn out dense and tough.
Sprinkle a small pinch of flaky sea salt over the top if desired.
Let the treats cool at room temperature for at least 30 minutes before cutting into 16 squares and serving.
Equipment
- 9x13-inch baking pan
- Large heavy-bottomed pot or Dutch oven
- Rubber or silicone spatula
- Parchment paper
- Sharp knife or bench scraper
Notes
Storing, Serving, and Making Ahead
These treats are best the day they are made, when the cereal is still light and the marshmallow is at peak gooeyness. That said, they hold up beautifully for up to 3 days stored in an airtight container at room temperature with parchment between the layers.
Avoid the refrigerator at all costs. Cold air turns them rock hard and stiff, which defeats the whole point.
If you are making these for a party or bake sale, you can safely prep them the night before. Wrap each square individually in plastic wrap and leave them on the counter overnight. They will be just as good the next day.
For an extra special presentation, cut them into fun shapes using cookie cutters while the mixture is still slightly warm and pliable. Stars, hearts, and circles all make for a showstopping tray.