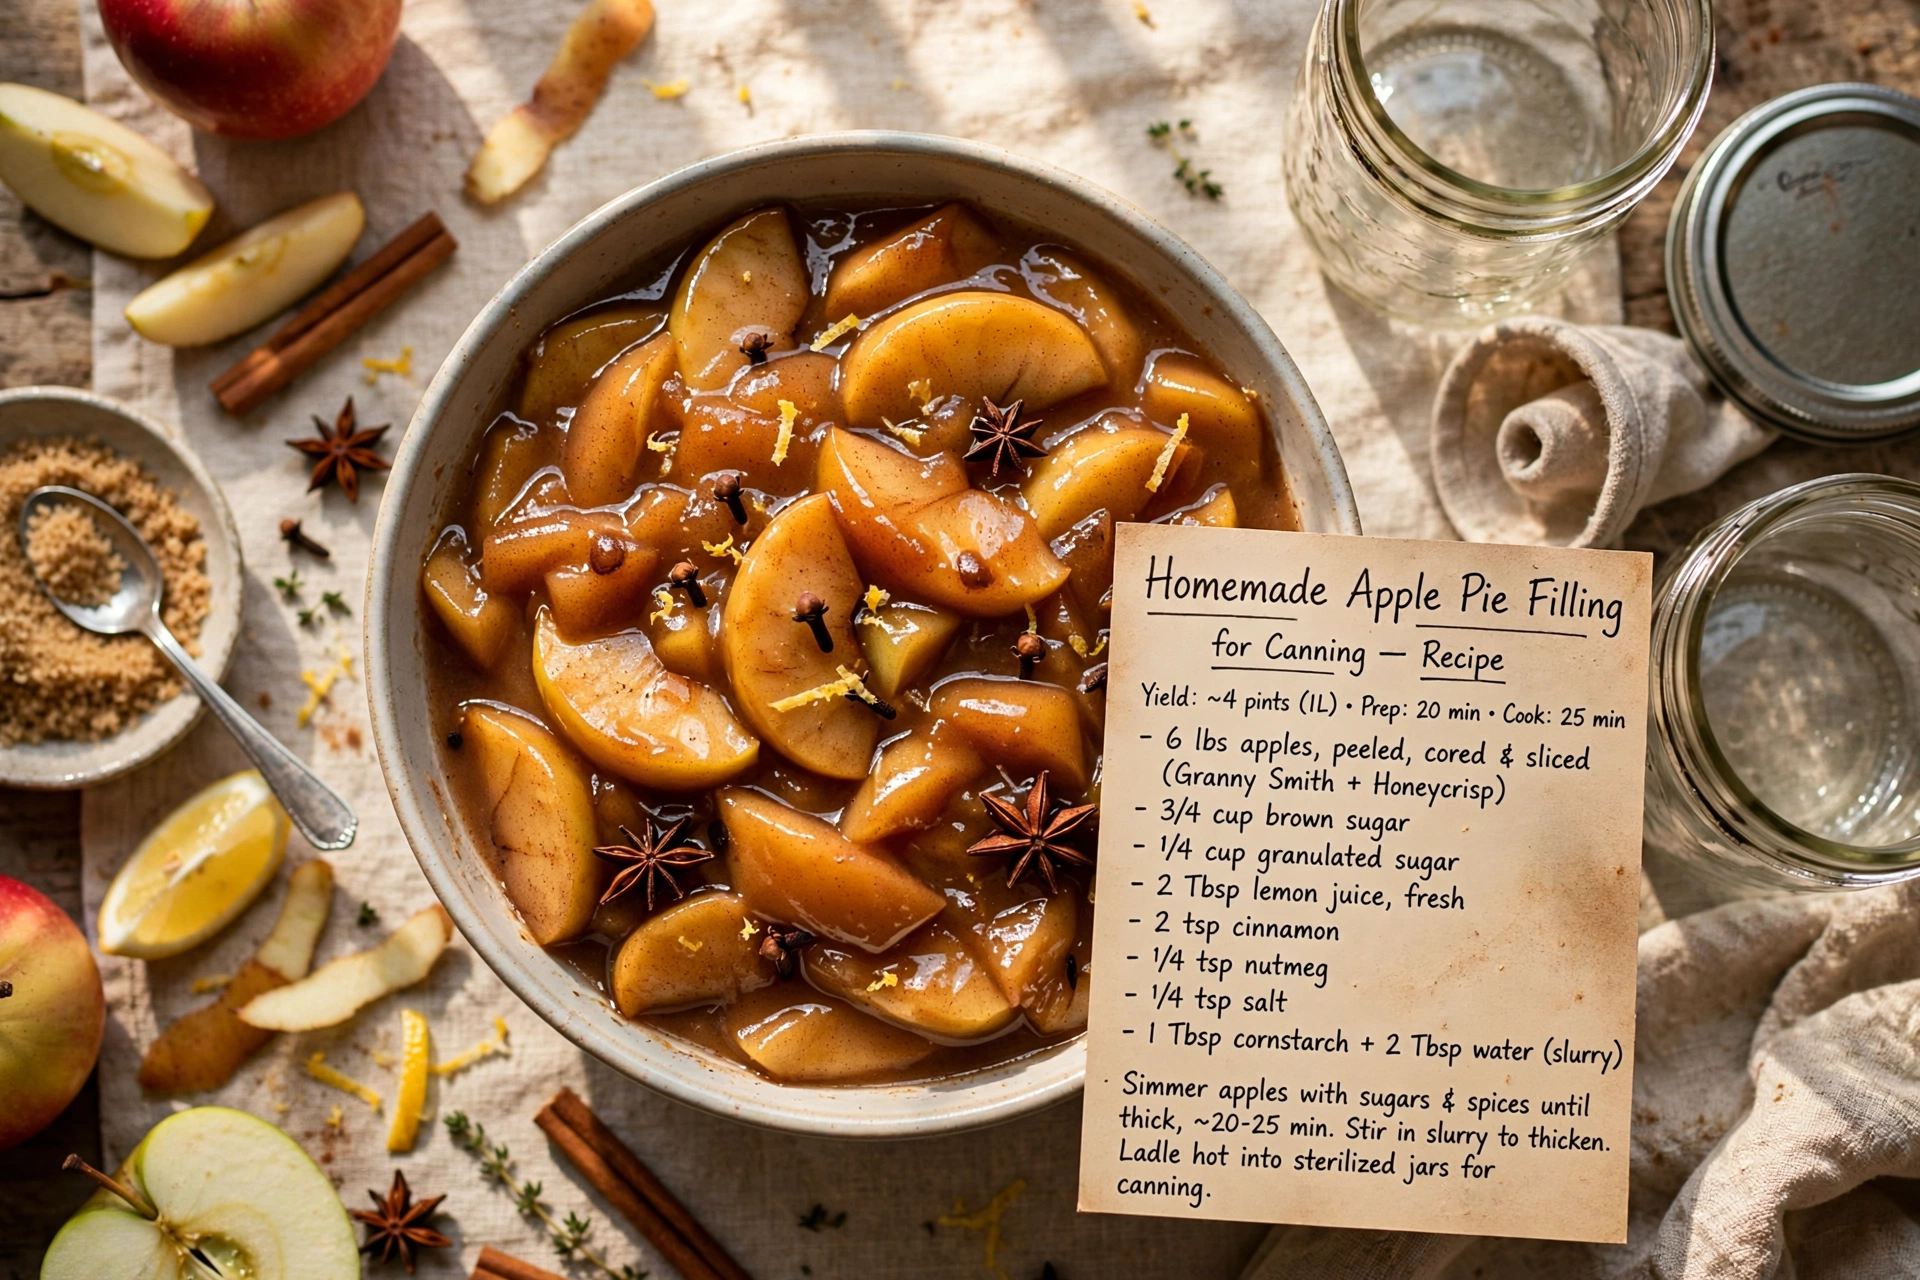
Homemade Apple Pie Filling for Canning
Learn how to make and can apple pie filling at home with this easy, small-batch canning recipe, perfect for stocking your pantry with ready-to-bake apple pie filling all year long.

Why You Need Apple Pie Filling To Can In Your Pantry
There is nothing quite like opening your pantry in the middle of winter and finding a jar of homemade apple pie filling ready to go. This recipe walks you through exactly how to make and can apple pie filling so you can turn a big haul of fresh apples into months of ready-made dessert. Whether you grew up canning apples for pie filling with a grandparent or you are canning for the very first time, this method is straightforward, reliable, and genuinely delicious.
Canning your own apple pie filling means you control exactly what goes into it. No mystery syrups, no excess preservatives, just apples, sugar, warm spices, and a little cornstarch to thicken things up. Once you try canning apple pie filling yourself, store-bought cans will feel like a downgrade.
Before we get cooking, the right tools and ingredients make a real difference here. A sturdy water bath canner, a reliable jar lifter, and good quality canning jars are what stand between you and a shelf of perfectly sealed jars, and using bottled lemon juice instead of fresh is a small detail that really matters for safety.
Choosing the Best Apples for Canning
Not every apple holds up well to canning. You want a variety that stays firm and holds its shape through blanching, boiling, and processing, rather than turning to mush. Some great choices include:
- Granny Smith, tart and firm, a classic pie filling choice
- Honeycrisp, sweet with a satisfying crunch that holds up well
- Braeburn or Jonagold, both balanced and sturdy
A mix of two varieties, one tart and one sweet, often gives the best flavor in the finished jar.
Chef's Tip: Slice your apples into uniform half-inch wedges. Even sizing means even cooking, so every bite of your finished pie filling has the same tender bite.
Why Bottled Lemon Juice and Cornstarch Matter
When it comes to how to can apple pie filling safely, a few details are non-negotiable. Bottled lemon juice has a standardized acidity level, which fresh lemons simply cannot guarantee, and that acidity is part of what makes this recipe safe for shelf storage. Skipping it or swapping in fresh juice is one of the most common mistakes people make when canning apples for pie filling.
As for the thickener, this version relies on cornstarch, which makes it a popular canning apple pie filling recipe for canning without Clear Jel. Cornstarch is easy to find, affordable, and gives you that classic glossy, thick syrup you expect from pie filling. Just know the texture may loosen slightly during the water bath process, which is completely normal and nothing to worry about.
A Quick Overview of the Process
- Peel, slice, and briefly blanch your apples
- Cook a spiced sugar syrup thickened with cornstarch
- Fold the apples into the hot syrup
- Pack into jars and process in a boiling water bath
It sounds like a lot of steps, but once you get into a rhythm, an afternoon is all it takes to fill your pantry shelves.
Ready to Fill Your Pantry?
This recipe makes about seven quart jars or fourteen pint jars, perfect for gifting, stocking up, or simply always having pie filling on hand for a last-minute dessert. Ready to make it? Here is the full step-by-step recipe:
Homemade Apple Pie Filling for Canning
Learn how to make and can apple pie filling at home with this easy, small-batch canning recipe, perfect for stocking your pantry with ready-to-bake apple pie filling all year long.
Ingredients
- 6 lb apples, peeled, cored, and sliced, use a firm baking variety like Granny Smith or Honeycrisp
- 4 1/2 cups granulated sugar
- 1 cup cornstarch, for a shelf-stable canned filling, do not substitute Clear Jel unless following a tested USDA ratio
- 2 tsp ground cinnamon
- 1/2 tsp ground nutmeg
- 5 cups water, divided
- 3/4 cup bottled lemon juice, bottled, not fresh squeezed, for consistent acidity
- 1/2 tsp salt, optional
Instruction
Wash 7 quart-size (or 14 pint-size) canning jars, lids, and rings in hot soapy water, then keep jars warm in a simmering water bath canner until ready to fill.
Peel, core, and slice the apples into even wedges about half an inch thick. You should have roughly 6 quarts of sliced apples.
Blanch the apple slices in batches in boiling water for 1 minute, then drain well and set aside in a large bowl.
In a large stockpot, whisk together the sugar, cornstarch, cinnamon, nutmeg, and salt.
Gradually whisk in 5 cups of water until no lumps remain, then bring the mixture to a boil over medium-high heat, stirring constantly.
Boil the syrup for 1 to 2 minutes, until it thickens and turns glossy, then remove from heat and stir in the bottled lemon juice.
Fold the blanched apple slices into the hot syrup and stir gently until evenly coated.
Ladle the hot apple mixture into the warm jars, leaving 1 inch of headspace.
Run a bubble remover or thin spatula around the inside of each jar to release trapped air, then wipe the rims clean with a damp cloth.
Center a lid on each jar and screw on the ring until fingertip tight.
Process the jars in a boiling water bath canner, quarts for 25 minutes and pints for 20 minutes, adjusting for your altitude.
Turn off the heat, remove the canner lid, and let the jars sit in the water for 5 minutes before transferring them to a towel-lined counter.
Let the jars cool undisturbed for 12 to 24 hours, then check that all lids have sealed before labeling and storing.
Equipment
- Water bath canner
- Canning jars with lids and rings
- Large stockpot
- Jar lifter
- Canning funnel
- Bubble remover or thin spatula
- Ladle
Notes
Serving, Storing, and Baking With Your Canned Filling
Once your jars have cooled and sealed, store them in a cool, dark pantry or cupboard, where they will stay good for up to a year. Always check the seal before using a jar. The lid should be slightly concave and should not flex when pressed.
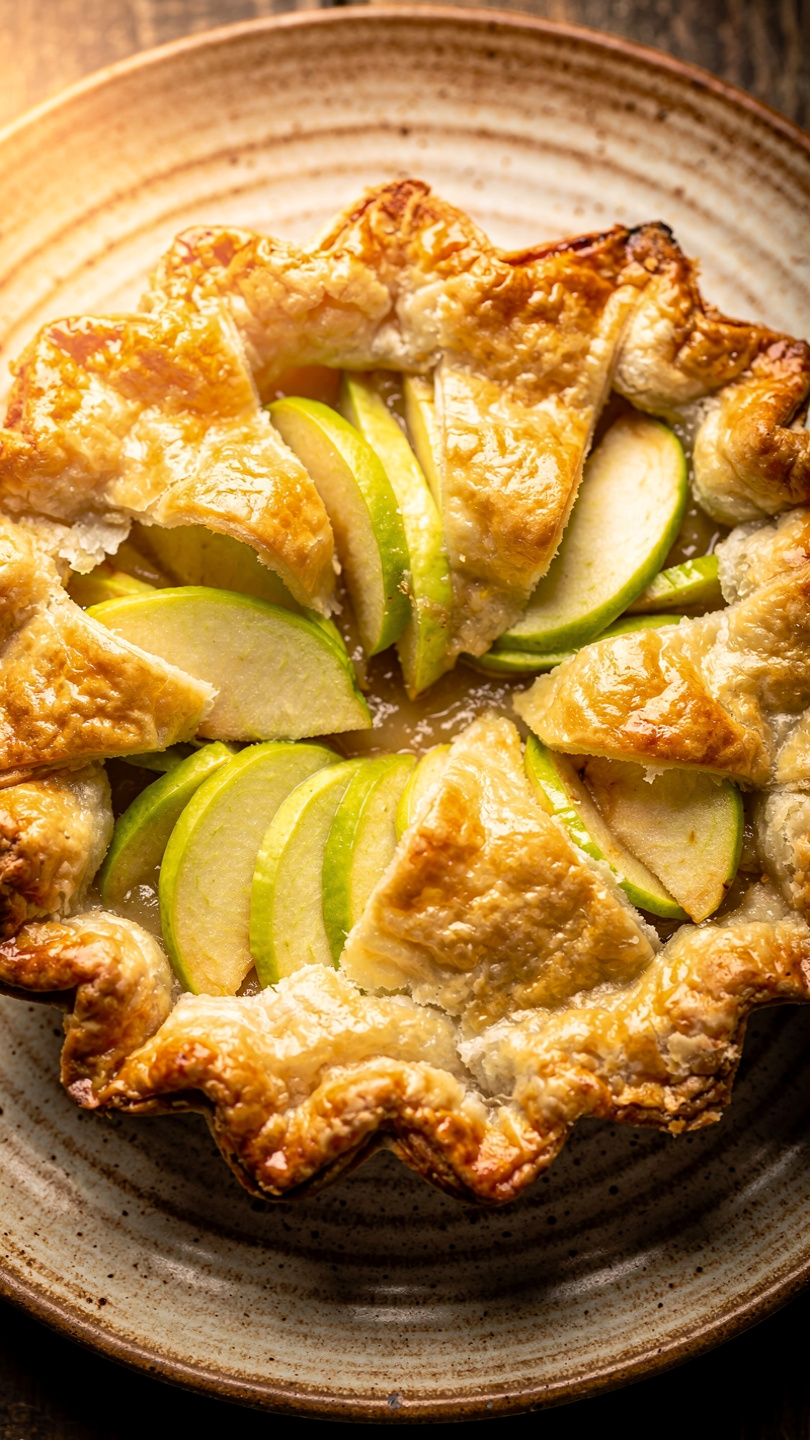
To bake a pie, simply pour one quart of filling into an unbaked pie crust, top with a second crust or a crumb topping, and bake at 375 degrees F until golden and bubbling, about 45 to 55 minutes. You can also spoon the filling over pancakes, stir it into oatmeal, or warm it up as a topping for vanilla ice cream.
Chef's Tip: If you are new to canning, do a small test batch first. It is much easier to troubleshoot sealing issues or syrup consistency with two or three jars rather than a full batch of fourteen.
However you decide to use it, this homemade apple pie filling is proof that a little time in the kitchen now pays off in delicious, ready-to-bake desserts all year long.